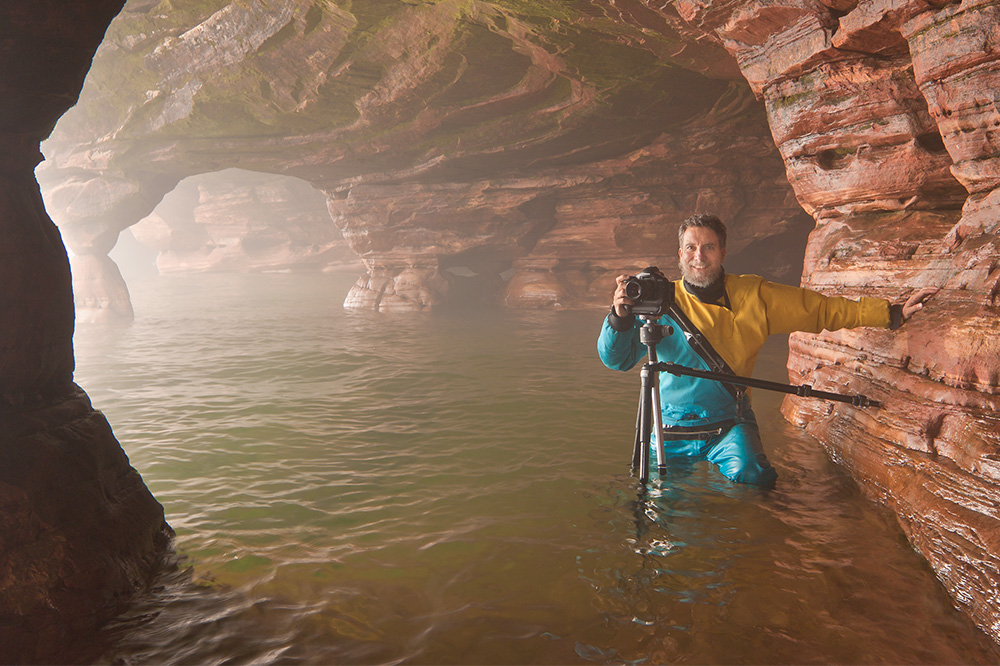
OVERALL DEPTH OF FIELD – SINGLE CAPTURE
Reproduced with permission from Craig Blacklock.
The Purpose:
To get everything in focus with only one capture.
When it can be used:
- When using relatively low magnification.
- When the subject plane is parallel to sensor plane.
Camera settings:
- RAW
- Manual or Aperture Priority
- Mirror locked up if highly magnified using shutter speeds around 1/8th second.
- Self timer set to 2 seconds or electronic release
- Use sharpest aperture that gives adequate DOF (see diffraction, below).
Limiting factor in single capture DOF – diffraction:
This chart is reproduced from Bob Atkins web site:
| Format Size | Typical COF value(microns) | Limiting Aperture for aSharp 8×10 print |
| 8 x10 (203mm x 254mm) | 250 | f180 |
| 6 x 9 (60mm x 90mm) | 75 | f64 |
| 35mm (36mm x 24mm) | 30 | f22 |
| APS-C (22.5mm x 15mm) | 20 | f16 |
| 1/1.8″ (7.1mm x 5.3mm) | 6.3 | f5 |
| 1/2.5″ (5.7 x 4.3mm) | 5 | f4 |
Examples of this limiting factor are shown on his web site, along with additional information on depth of field.
Looking at the above chart, it is easy to see that with a full frame sensor camera, you would not want to close down beyond an “effective f/22”. Keep in mind that as you focus closer, such as adding extension tubes, you are moving the aperture blades further away from the sensor, and the effective aperture that is marked f/22 may now effectively become f/32 or even f/45.An effective aperture smaller than f/22 (f/32 and smaller), will degrade the overall sharpness of the image due to diffraction, so you are getting an increase in DOF with a loss of overall sharpness. To find the approximate diffraction limited dot size in microns, multiply the f-stop by 1.25. If you use f/22 you get a diffraction limited spot size of around 27.5 microns. Since 35mm format uses a 30 micron circle of confusion for a standard, you can see that any smaller apertures would be of little benefit.
In tests I did with a full frame sensor, these were the OPTIMUM marked apertures for sharpness on the plane of focus, when filling the frame with the following measurements in the length of the frame:
- 1 inch f/11
- 1.5 inches f/11
- 2 inches f/13
- 3 inches f/14
- 4.5 inches f/18
- 6 inches f/18
- 12 inches f/18
- 24 inches f/20
- infinity f/22
Capture process:
Use a Diffusion Tent to block any wind that may move subject during exposure. Remember that the larger you make the subject in the frame, the less DOF you will have. Depth of field is inversely proportional to the square of the magnification. So when working in tight, you need to make the most of the available DOF.
The more parallel you can line up the sensor plane with the subject plane, the less depth the composition will have, and it will be easier to get it all within the available DOF.
Focusing:
Focus on the closest part of the composition you want sharp, and if possible, note that distance on the lens barrel. Then do the same with the farthest. Now rotate the lens so the two distances are equally spread on either side of your distance marker on the lens. If you have DOF indication lines, they will aid in this, and also let you know which f-stop is needed (pair of f-stops OUTSIDE the two distances).
If the lens you are using does not have this information, you can use a tape measure and a DOF calculator. There are many calculators available online, and even a widget for your MAC. Here are three that will also help you understand a bit more about the process.
- dofmaster.com/dofjs.html
- bobatkins.com/photography/technical/dofcalc.html
- cambridgeincolour.com/tutorials/depth-of-field.htm
When photographing very close in, measuring becomes impractical. Simply know that what DOF you do have, comes ½ towards the camera and ½ away from the plane of focus. After you make your image, zoom in on the LCD screen on your camera and examine the focus to get a rough idea of your DOF.
Computer processing:
Since this is a single capture, it is likely you will be able to do all, or nearly all the corrections in ACR or Lightroom — the same as for any single capture image.


